Showing posts with label stairs. Show all posts

Monday, April 23, 2012

Crack is whack!

Sorry for the recent radio silence, I was celebrating my birthday and being sick! Here's the most current stair update from last weekend....
 
I returned to working on the stair project today after a short hiatus. Since my last post on this project I have done a coupe of small steps. First, I took to the risers with a scraper and sandpaper. I repeated this process twice. Since there was potential hazardous paint involved (unsure of this) I made sure to wear a face mask to avoid inhaling any paint chips. After sanding, I used wood filler to patch up the risers where there were dents and divots.


Today, J and I sanded down the wood filler to a nice smooth surface. Next we decided to tackle the crack, because crack is whack! In a 105 year old house everything is un-square, not lined up and is prone to cracks. This held true with the stairs. When we were replacing the treads we tried our best to fit them as tightly a possible, however there were still some cracks, especially along the left side of the staircase.

So I went to town with some brown caulk along all three sides of the base of each tread. Also, I used the brown caulking to fill in the nail holes on the top of each tread on either side. Here's the caulking I used, bought at Lowes-

While I was working my way up the staircase, J started working with the white caulking on the risers. He used DAP regular painter's caulking, which is named Alex.

It took us about 2 hours from start to finish. Here's a current shot of the stairs, and although the progress is almost unnoticable, all the cracks are nicely sealed up!

The last step left, is painting. Wooooooo! I can't wait to get this project done!

Thursday, March 29, 2012

Every wonder what is under your stairs???

Well, do you? I did, until I pulled up my first stair tread and discovered this:

That's right, hundred year old trash and chicken bones. And as we got higher up, I also discovered also super mold oldy bead board on the interior of the stairs on the left hand side.
So not exciting and kinda creepy in a horror movie kinda way!!!! I will say that I was happy not to find colonies of spiders or other critters, so I suppose that was a plus. As you can tell, my grandpa and I went to town on the stair treads. The process was not overly complicated but did require a lot of tools and measuring.

Items used:
  • pry bar
  • hammer
  • nail set
  • nails (extra long!)
  • wood blocks
  • nail gun with air compressor
  • liquid nails
  • caulking gun
  • paper towels
  • dust mask
  • saw 
  • workstation
  • tape measure 
  • circular hand saw
  • extension cord
  • wood plane
  • lunch (it will take you all day)
I'm going to try my best to explain the process but forgive me in advance, as I am not a carpenter. So don't hate if I misuse any terms. I worked with my grandpa in the summers as a kids, so I guess I'm an official "gopher!" (aka go get me hammer, etc.)

The first thing we did was remove the decorative trim at the base of the stair tread. Then we took the pry bar and hammer and removed the tread. Some treads were easier than others and some even cracked in half in the process. It seemed to really come down to how many nails were in the tread. The ones with excessive nails took excessive arm power!
Next, we took a measurement and cut the new tread to size. Well I didn't do the cutting, but I supervised! Now here comes the exciting and complicated step. Before installing the new tread, we had to remove the excess nails that remained from the previous tread. Now normally you'd just take the hammer and pry them out but of course it wasn't that easy! The heads of the nails were buried, as they were nailed from the backside of the staircase. Therefore, we had to use the circular hand saw to cut the nails. This was the scariest part, and even after 14 stairs I couldn't man up. Cutting nails includes lots of sparks and smoke. We even ended up setting of the smoke detectors several times! So every time we got to the cutting step I stepped back and hit my eyes. Yes, I am a chicken, so what!?! All I could think about was my hair or clothes catching on fire from those smelly sparky fumes!

After removing the nails, we had to install small nailing blocks on the interior right hand side of the stairs. Once again, the stairs were put together from the outside and did not require an additional nailing support.  If you look at the picture below you can see that the left has a nailing block while the right does not.
So we had to install small wood blocks on the right hand side in order to have a place to nail through the top of the stair tread. See installed block below.
After the block was installed, we dry fitted the tread before using glue and nails to make sure it was the correct measurement. This step is vital especially in an older home where things are NEVER square and plumb. In some cases we had to use the wood plane to shave off a little extra on the front or back of the new tread in order for it fit tightly. Next, using liquid nails, we covered all the surfaces to help prevent movement and squeaking.
Then all that's left is to put down the new tread. Lay down the new tread and nail on both the right and left sides. To avoid damaging the new and most beautiful tread, we used a nail set to hammer the nails just below the surface of the tread. Below is a picture of the nail set, to the right of the hammer.
 
 ANNNNNND after you repeat this process 14 times, you end up with this.... *drum roll please*
Oh yeah, cue that beautiful bean footage! Uhh I mean stair footage! Aren't they a beaut!! Of course this is the most flattering view because it does not feature the ratty-in-desperate-need-of-paint risers that you can see from the bottom of the stairs. Ah well, for now I just stand at the top and stare at the stairs, ha! I am so full of stair jokes!

(Note: the one tread near the bottom is still unstained, as it was our tester to see if we could replace the treads. It will receive a full stain and poly soon.)

We started about 10 am and finished up at 4:57 pm on the dot. As soon as we got to that top step, my grandpa said "now this is one we've been looking for ALL day!" So true!! Especially after the last few treads causing so much trouble with their plethora of unneeded nails, and a couple of cracked risers.

Also, for comparison purposes lets see the pile of nasty, dirty, cracked, busted, moldy old treads...
And the new more beautiful and shiny treads....
What a world of difference! 

Now on to the next step (ha!) scraping, sanding, filling in holes and painting. I've given the stairs a break for the last week and half after all the work I've been putting in. But soon enough, I'll hop on the detail work.

Hope you had fun treading through this post! Have a great weekend!

Tuesday, March 20, 2012

PolyLand

Every night after work last week I worked on the treads. They currently have three coats of polyurethane and are sporting a semi-gloss sheen. I used Minwax Semi-Gloss Fast Drying Polyurethane that I picked up at Lowes, and it cost about 10 bucks. (And yes, that's a wide mouth ball jar!)

I applied it with a standard paint brush that I had on hand. In my one previous experience with poly, I learned very quickly that it is drippy, sticky, and kind of a mess to work with. After the first board, I figured out that it was best to use long broad strokes up and down the board repeatedly to combat the drippage factor. I also had to master tilting my head at the right angle so that the light would grab the sheen just right so that I could inspect and correct any drippage. Can you imagine my crooked neck and over used arm? It sure makes for one tired gal! And did I mention the fumes? Poly stinks. Seriously stinks! I'm pretty sure I've killed off some brain cells this week. The first two coats I was able to do outside, but tonight it decided to rain so I had to bring the boards into the laundry room for the final coat.

So here are the shiny boards, in their temporary laundry room home. They are ready and willing to be installed this weekend!


And here's a close up of one of the boards, ain't she beautiful!!!!!?!


Tuesday, March 13, 2012

Staining Away

I jumped right into staining the stair treads after work today. I just love the time change, that and this fantastic weather we are experiencing (today was 75!). With more day light hours, it means that I can get more done!

Before I get into the staining process, let's back up a bit. After discovering that replacing the stair treads would be economically feasible, I set out to purchase treads. Little did I know that this would not be as easy as I thought. I called and went to several home improvement stores in search of 15 pine stair treads. Each store only had about 5-10 in stock, and on top of that the quality of the treads greatly varied. So not only were they short, but not all the treads in stock were good for staining. Many of the treads I found had lumps, deep knots, splitting, and in some cases holes! After 4 stores, and a lot of examining I am the proud owner of 13 treads. Yes, I am still in need of one! Hopefully, another stop tomorrow and I'll score the last tread.

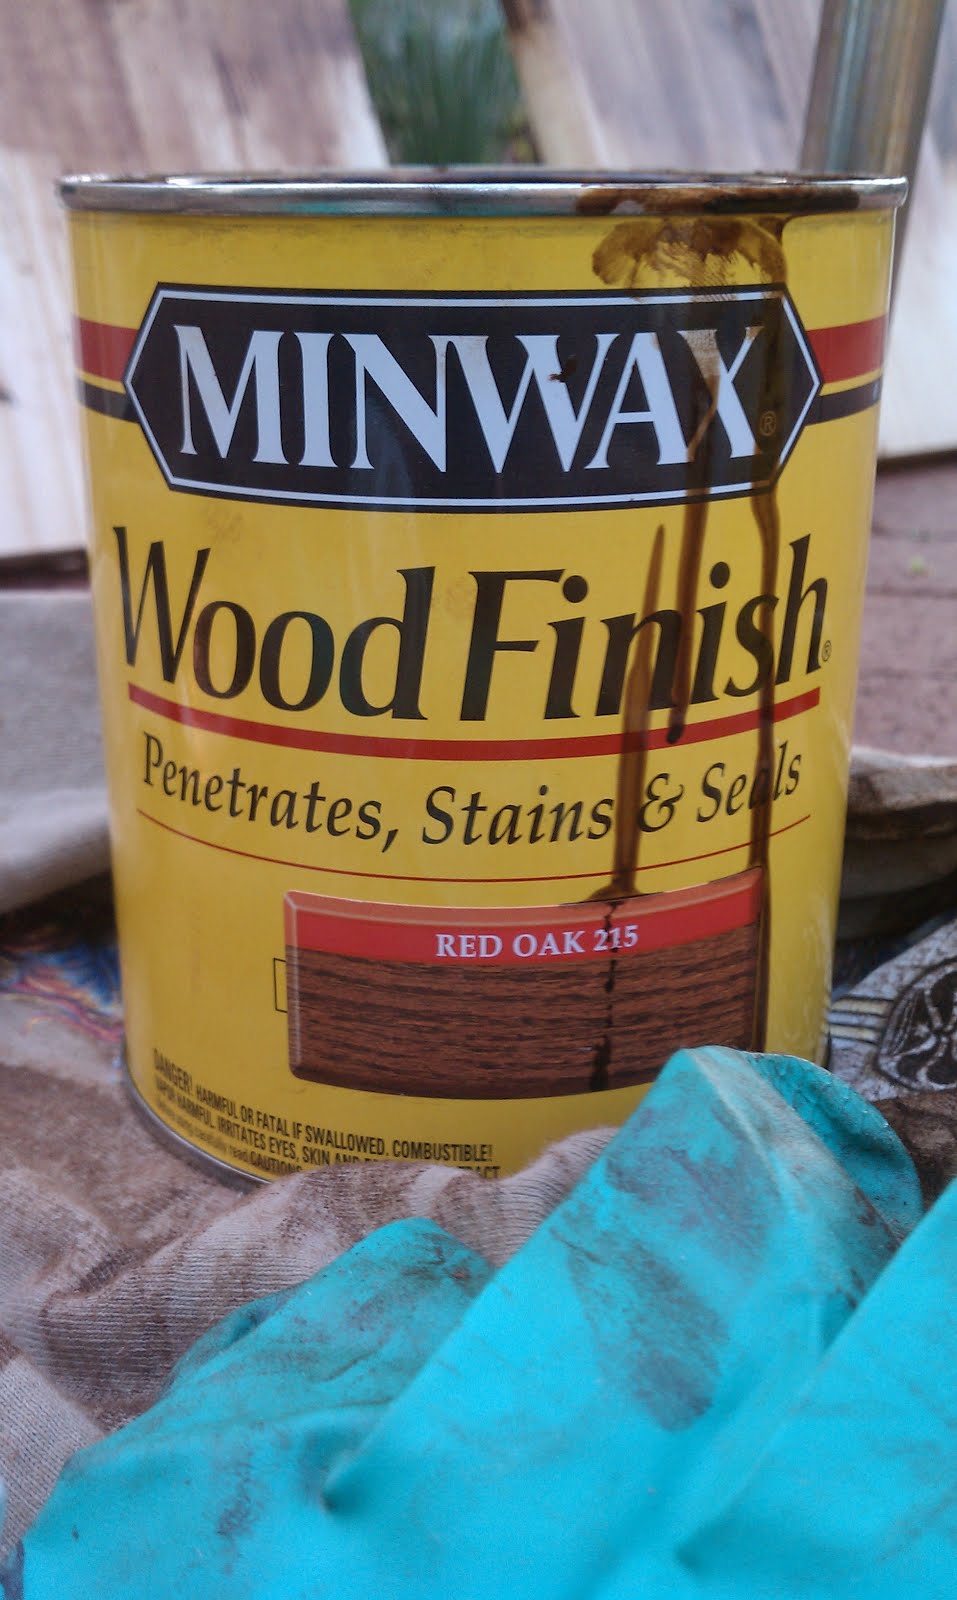
I experimented with stain colors with what I had on hand, Minwax gel stain in mahogany and Minwax in antique walnut. After staring at the floor, literally!, and the stair treads for awhile I figured out that my floors had more red/orange in them. To be clear, the floors actually vary a lot in tone as their are a hundred years old. By the stairs they are dark, and the lighten and change throughout the first floor. So today I picked up a Minwax stain in red oak to mix in with the mahogany stain I already had.


I lined up all the boards in the back yard, and got my stain on! Me, the sunshine, and the cats! I used a regular angled wooden handle paintbrush and I mixed my stains in a plastic cup. I had plenty of old t-shirts on hand to wipe off the stain and paper towels too. Staining is a very quick and easy process, although it can be messy. I suggest wearing gloves (which I hate) but it'll be worth it not having to clean your hands with paint thinner or mineral spirits. Also, I recommend using Minwax gel stain. It is thicker and does not drip or run like normal stain can. It's a bit more pricey but it's worth it. I used it when I stained my handrails, and it made it so much easier.

Here's a close up for ya:


Oooooh, ahhhhh- aren't they beautiful! Are you wondering why there are "bare" spots on the boards in the photo? Well because I had to buy larger treads I had the opportunity to pick the best parts of the board to stain as we are going to cut off the extra parts.


So for now, the treads are hanging out in the backyard drying. Tomorrow, they'll each get a coat of semi-gloss polyurethane. And 24 hours after that, another coat. My wrists are sure getting a work out this week!

Monday, March 5, 2012

Carpet no more!

After the great leap day news about the stair treads, we took on the task of removing the rest of the carpet from the stairs this weekend. The first five steps that I did solo seemed to take forever. However, with Jason's help we pulled up the rest of the carpet, pad, tack boards, and staples in no time flat. In fact, I had not even finished my second cup of coffee before I realized we were carpet free! This was a pretty easy process only requiring a few tools that you most likely already have at home. We used a hammer, flat pry bar, and need nose pliers. I did spend a few extra bucks to purchase a smaller slimmer flat pry bar at Ace, as the one we had was a normal size and was a bit heavy and awkward in the small area of the stairs.


The first step was simply applying some good old elbow grease and pulling up the carpet. This reveals the carpet pad and tack boards. Next, all you have to do is pull up the carpet pad. I suggest wearing a mask, as underneath there will definitely be a thick layer of crud. I discovered this immediately as I found myself inhaling all sorts of disgusting dust and crud. I will say, that if I had any doubts on getting rid of the carpet, seeing the dust and dirt underneath solidified my decision. After removing and disposing of the carpet and pad, next come the fun part! Using the flat pry bar and hammer, remove the tack boards on the treads and risers. I found that some tack boards came up easy while others cracked and broke into pieces. I had a bucket handy (a freebie from out recent Habitat for Humanity ReStore purchase) to collect the tack boards to avoid injury. However, be prepared to take a few stabs to the hand when removing the tack boards! Even with heavy duty gloves, I can still see the potential for tack board "paper cuts."


After removing and disposing of the tack boards, the only remaining step was to pull out the staples that were formally holding the carpet pad in place. Boy, was this tedious! Each step and riser had at least 10 or more staples that needed to be removed. We discussed leaving the staples as we are just going to replace the old treads anyways, but we decided to err on the side of safety (for us and the cats) and go ahead and pull them all out. This step took the most time of the whole project, even with both of us working two sets of pliers on separate stairs.

To finish up our morning carpet removal, we hit the stairs hard with the vacuum cleaner. Jason hit the stairs hard to get all the staples, dust, and carpet debris as he is the vacuum king in our house. Here is a before and during photo for your viewing pleasure-


(Side note:In the above picture you can also see the hallway hardwood peeking its head out. I wanted desperately to pull the carpet all the way to each bedroom door, but Jason talked me out of it. One project at a time, right? I did however pull up a a few small sections to check out what lies beneath. The few spots I could see looked pretty good, which is exciting! It's added to the project list!)

And volia! Carpet free stairs! Aren't they beautiful? Hah!


To reward ourselves, we went out to dinner at Cafe Rustica on Main Street and had a yummy meal. Here's my Sauerbraten with a side of blaukraut and spaetzle. Mmmmm! It sure was delicious.


Now the second fun phase starts! Staining and double polying 15 stair treads! After chatting with my grandpa, I decided to go ahead and stain the treads and then install them, rather than the other way around. I just couldn't figure out the logistics for finishing the treads with three cats and two humans!

Today I stopped by Home Depot on the way home to compare tread prices to the one my grandpa priced at Lowes. I discovered that I will have to buy 48' pine treads and cut off the excess, as no one seems to have 36' ones. I hate the idea of wasting all that wood, but my grandpa said he could use it in his shop so at least it will have a good home. So, it will be $9.99 per tread. I'll be hopping by the Home Depot tomorrow to peck through their treads and pick out the best fifteen (those with the least amount of knots). Wish me luck!